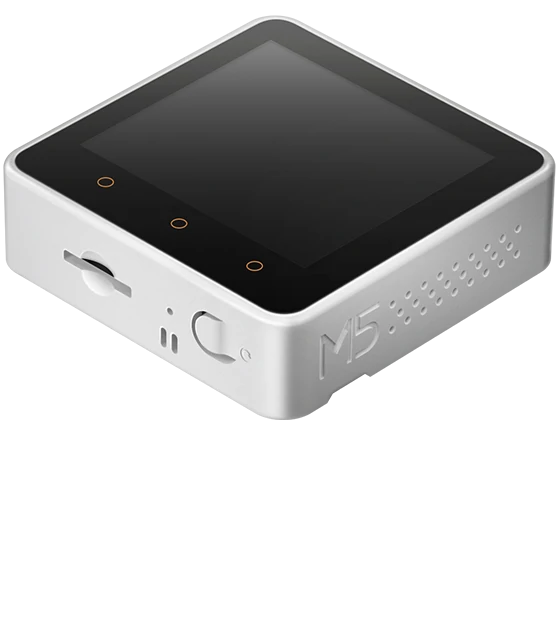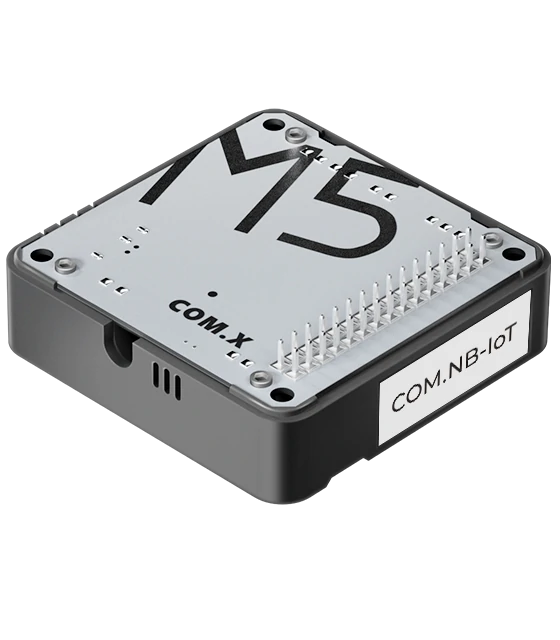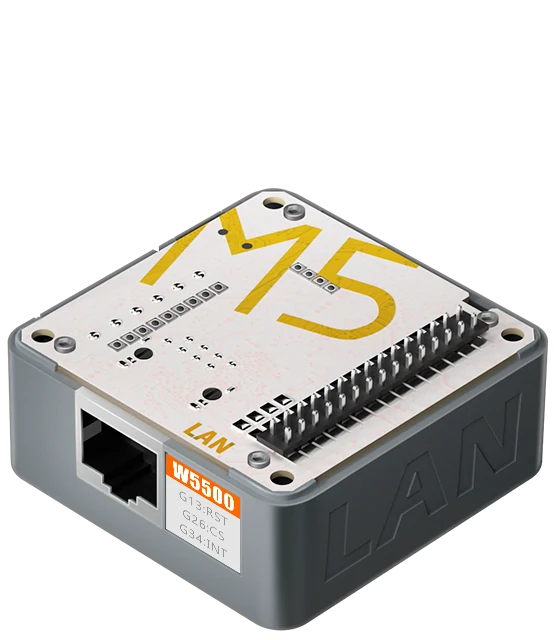


When using M5Stack Modules or Bases, many users run into a common problem:
The same module, when stacked on different controllers (such as Basic, Core2, CoreS3, Tab5, etc.), uses different pin definitions. So, how should you correctly configure the pin numbers in your code?
If you have the same question, then understanding how the M5-Bus and DIP switches work is crucial.
This article will explain in a clear and practical way:
By the end, you could have a much clearer idea of how to set the DIP switches on the module, and how to configure the corresponding pin numbers in your program.
M5-Bus is a stack expansion bus design adopted by M5Stack stacking series products (Module, Base). The interface uses 2x15P@2.54mm pin headers/sockets. The Core series controllers can quickly stack different modules via the M5-Bus to achieve functional expansion. Its fixed positions define power pins such as GND, 5V, 3V3, and BAT, ensuring compatibility with various devices; other pins vary depending on the controller model, so you need to configure your program according to the actual pin mapping.
2. Fixed Function Pins
The pin numbers of M5-Bus are fixed starting from the GND pin at the top left corner, numbered from 1 to 30. This sequence is consistent across all controllers. The pins marked with a red box are fixed-function pins (power and GND, etc.), while other pins may have different functions or GPIO mappings depending on the main controller.
3. What is a DIP Switch
A DIP Switch is a toggle switch. It is used to flexibly change the connection of key module pins to adapt to different controller models. For example, in the case of Module GPS v2.0, there are three switchable pins: TXD, RXD, and PPS. Two onboard DIP switches control which pins these signals are connected to.
DIP Switch1’s switches 1–4 control TXD, switches 5–8 control RXD; DIP Switch2 is used to control PPS.
To avoid pin conflicts, typically each function pin only needs to be switched to one pin based on actual usage requirements. For example, in the following configuration, the 1st and 5th switches on DIP Switch1 are set to ON, the 2nd switch on DIP Switch2 is set to ON, and all other switches are set to OFF.
Based on the PCB silkscreen reference:
When programming the device, you must modify the corresponding pin configuration according to the actual pin connections.
The DIP switch’s corresponding positions and numbering connected to the M5-Bus are fixed (indicated by blue box).
If the PCB silkscreen’s I/O reference table does not include the controller model you are currently using, you can refer to the existing device’s silkscreen PinMap to identify which M5-Bus pins the DIP switch connects to, and then map those to the corresponding pins of your current controller.
When using Module LoRa868 with Tab5, and the DIP switches are set as shown in the picture, which Tab5 pins are used for NSS, BUSY, RST, and IRQ, respectively?
Answer

5. Wrapping Up:
Treat the DIP Switch as a “Hardware-Level Remapping Tool”
A DIP switch essentially gives you a form of hardware-level pin remapping:
The same module can be used with different Controllers, while routing key signals (TXD, RXD, PPS, etc.) to the most suitable GPIO pins.
In practice, if the module’s silkscreen or documentation already specifies how to set the DIP switches and which pins to use for your controller (for example, Core2, CoreS3), you can simply:
If your host controller is not listed, you can follow this simple procedure:
Once you understand this workflow, you no longer need to memorize which module “must be used with which Controller.”
Instead, you can flexibly migrate and reuse modules across different controllers, according to your actual needs.
Setting up a voice assistant doesn’t have to be complicated. At M5Stack, we’re proud to bring this capability closer to developers and makers with the M5Stack CoreS3—a powerful ESP32-S3 based controller with integrated display, rich interfaces, and cutting-edge performance.
With M5Stack CoreS3, you can seamlessly integrate advanced voice control into your Home Assistant ecosystem, enjoy real-time responsiveness, and experience true local AI interaction—secure, reliable, and fast.
The following guide walks you step-by-step through the process of setting up the CoreS3 HA Voice Assistant, from environment installation to voice activation.


Open the ESPHome addon page and click NEW DEVICE in the lower-right corner to create a new device.
Click CONTINUE.
Select New Device Setup to create a new configuration file.
Give the configuration file a proper name.
Next, when selecting the device, cancel the Use recommended settings, then select ESP32-S3. Locate M5Stack CoreS3 among the list.
Copy the Home Assistant API Encryption Key for later use, then click Skip
3.Configuring the Device
Click EDIT in the lower-left corner of the device to modify the Wi-Fi connection configuration. (The Wi-Fi configuration defaults to the current HA server's Wi-Fi settings, but you can also modify it directly with plaintext: ssid:"xxxx")
 Add the following package configuration link to add voice assistant functionality to the device.
packages:
  m5stack.cores3-voice-assistant: github://m5stack/esphome-yaml/common/cores3-satellite-base.yaml@main

Click SAVE and then INSTALL in the upper-right corner.
Select Manual Download to start compiling the firmware.
4.Firmware Flashing
Saving the Firmware


Connect the CoreS3 device to your computer via a USB-C cable and press and hold the reset button until the green light turns on, then release it to enter download mode.
In ESPHome Web, click Connect to connect to the device and select the corresponding device port.

Click INSTALL, upload the *.bin file previously compiled
Click INSTALL again to begin flashing
Wait until the flash is successful

5.Confirming the New Device Configuration
After firmware flashing, the device will automatically connect to Wi-Fi. The Home Assistant service within the same local network will prompt for a new device discovery. In Notifications, select the new device and click Check it out -> CONFIGURE, then follow the pop-up steps to add the device to the specified area to complete the configuration. If you do not receive a new device notification, click Settings -> Devices & services to view device status.

Then, you should be able to configure your Voice Assistant, or you can skip it and configure later
6.Waking Up the Device
After adding the device and completing the preparation steps for Home Assistant Cloud and Assist pipeline, you can now wake up the device using voice commands.
Demo video
With the steps above, your M5Stack CoreS3 has transformed into a fully functional Home Assistant voice terminal. Whether you use it to control lighting, monitor your environment, or communicate with other smart devices, CoreS3 bridges the gap between you and your smart home—bringing natural voice control to your fingertips.
M5Stack continues to empower developers with open, powerful, and beautifully designed hardware.
With CoreS3, you’re not just installing firmware—you’re giving your smart home a voice.
On November 17, 2025, M5Stack once again hosted its annual Open Day, welcoming global users and enthusiasts. This year’s event reached a new milestone, bringing together more than 80 participants from 11 countries to explore the world of M5Stack innovation—where people build, share, and connect.
Over the course of the afternoon, guests explored our all-in-one facility, exchanged ideas face-to-face, and discovered what’s next in the M5Stack ecosystem.

Factory & Office Tour: From idea to device
M5Stack operates an all-in-one facility where product design, production, packaging, quality control and shipping are all managed under one roof. Open Day offered visitors a rare opportunity to see this entire workflow in action.
Guests were divided into three language groups—Chinese, English, and Japanese. Guided by our team, participants followed the full journey of M5Stack products, from design and production to testing and warehousing, gaining a deeper understanding of how each idea becomes a finished piece of hardware.

Highlights Session: New products, new tools, new recognition
After the tour, the meetup session brought everyone together.
Jimmy opened with a brief look back at M5Stack’s story—how a small modular hardware idea grew into a global developer platform—and shared key milestones achieved over the years.
The session then moved into a series of exciting highlights:

User Lightning Talks: Global creators on stage
This year’s Open Day also featured a strong lineup of international speakers. Contributors from China, Japan, Indonesia, and other regions presented projects spanning education, AI, robotics, digital tools, and more.
The session showcased both award-winning professional works and small yet inspiring experiments from individual creators. Each presentation ignited new ideas, and every round of applause reflected the community’s appreciation for creativity and innovation.

Thank You for Being Part of Open Day
Every attendee played an essential role in making the event a success. Your passion, projects, and ideas are what give the M5Stack community its vibrancy. Thank you for traveling from around the world to join us in Shenzhen—to build, share, and connect together.
Looking ahead, M5Stack will continue to:
We look forward to welcoming you again at the next M5Stack Open Day—see you in 2026!
